
Section 20.2.3 · Chapter 20: Setting up Target Panel
Calibrating the Touch Panel
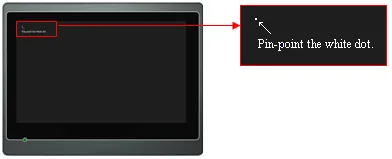
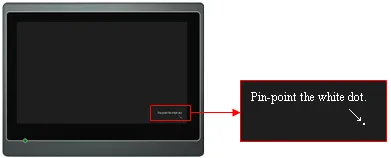
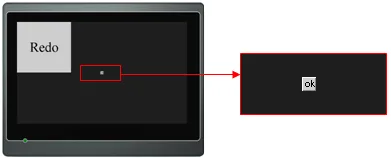
To calibrate the touch panel, you can press [Touch Panel] button on the Panel Setup screen. Use the following procedure to pin-point the white dots and ok buttons on the screen with an unsharp pencil.
1. Pin-point the white dot on the upper-left corner of the screen.
2. Pin-point the white dot on the lower-right corner of the screen.
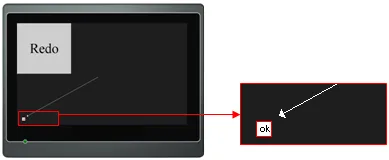
3. You can press the Redo button on the upper-left corner of the screen to go back to step 1.
Alternatively, pin-point the ok button on the lower-left corner of the screen to go to the next step.
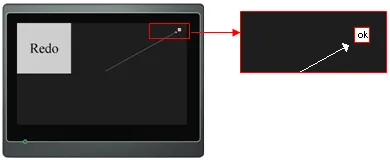
4. You can press the Redo button on the upper-left corner of the screen to go back to step 1.
Alternatively, pin-point the ok button on the upper-right corner of the screen to go to the next step.
5. You can press the Redo button on the upper-left corner of the screen to go back to step 1.
Alternatively, pin-point the ok button at the center of the screen to complete the calibration.
After calibration is completed, the Panel Setup screen displays again.
Note: Do not use anything that is made of metal or is sharp, such as a screw driver or a ball-point pen on the touch panel.
Need PM Designer itself?
V4 for current PK, PT, ITV and PM panels, V2 for older models. Free, sent by email.
Source.Section 20.2.3 of the PM Designer Software User Manual, Edition 2.0, © Cermate Technologies Inc. (www.cermate.com, service@cermate.com). Reproduced online, with the manual's own figures, by TSL Automation Solutions, authorised Cermate distributor, for users of Cermate HMI panels. PM Designer and PanelMaster are trademarks of Cermate Technologies Inc.
Text and figures are the manufacturer's and may describe features your panel or software version does not have. For a plain-language introduction read the PM Designer guide; for help with a specific panel contact TSL Automation.