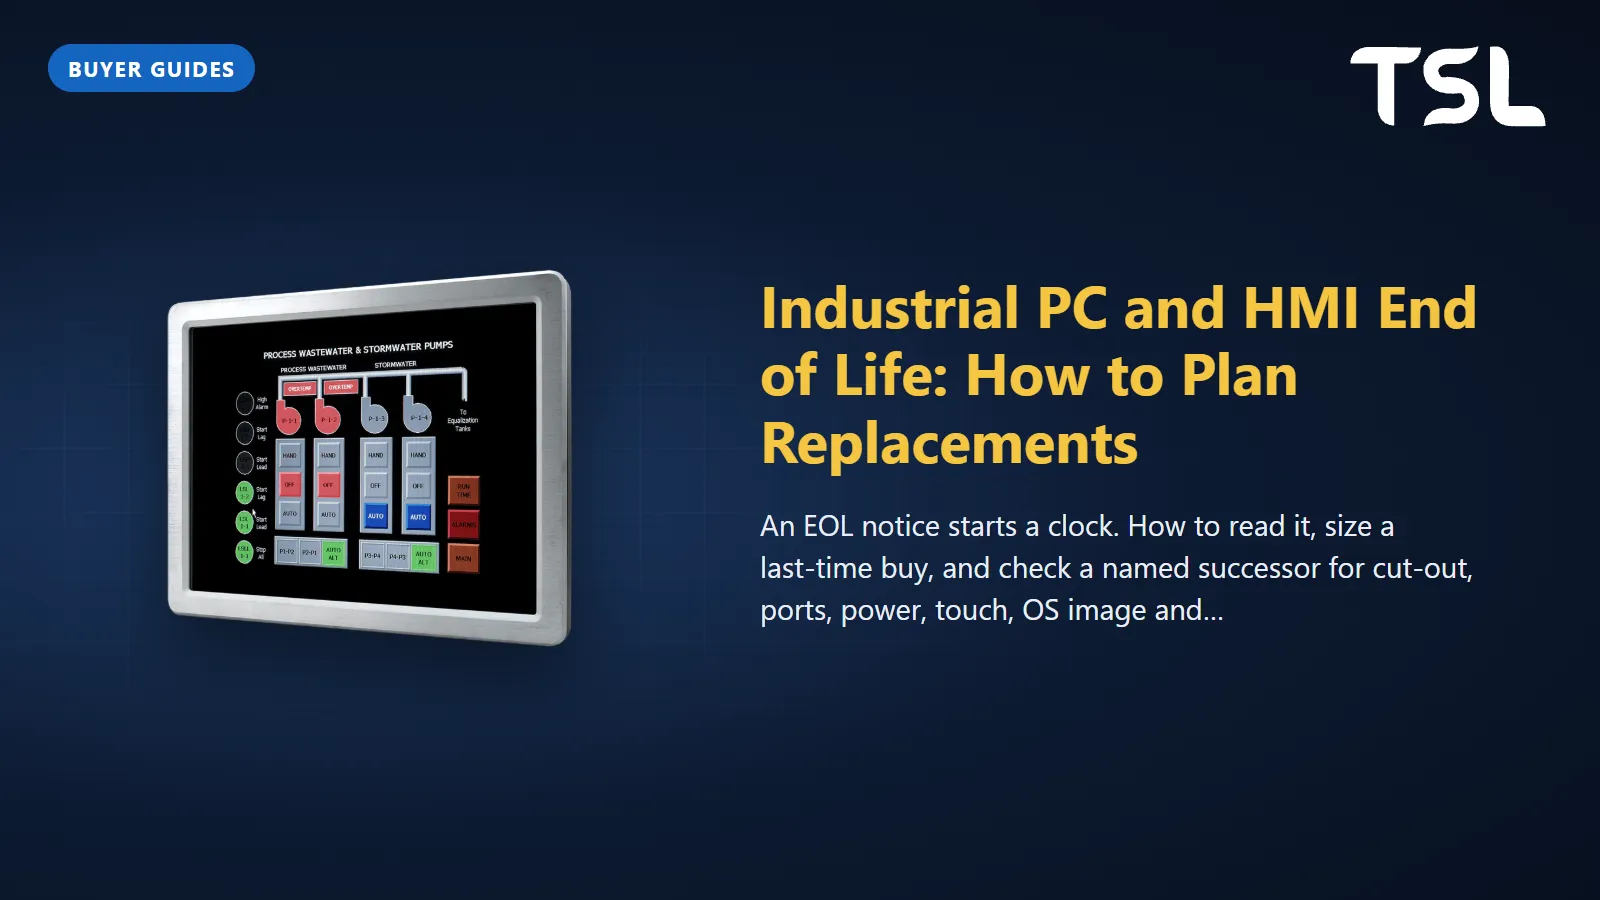
Replacing an Obsolete HMI Without Redoing the Project

Table of Contents
You can replace an obsolete HMI without redoing the project if three things carry over: the panel cut-out, the 24 V supply and the project file. Pick a current panel that fits the existing hole (or an adapter plate), runs on the same supply and is supported by software that opens the old project. For Cermate panels that software is PM Designer V4, which opens a V2 project and converts it. Then check the PLC link, test on the bench before the swap, and keep the old unit as a spare.
Step 1: Collect what the old panel depends on
Before ordering, write down what the old panel actually does. Most replacement delays come from something nobody listed:
- The model number from the back label, and the software and version used to program it.
- The project file itself. In PM Designer V2 that is the .pm2 file; the .pl3 file loaded into the panel is the compiled runtime, not the editable project. If only the panel holds the application, find the original project before anything else.
- Every communication link: PLC make and model, protocol, port (RS-232, RS-422/485 or Ethernet), station numbers, baud rate and the cable pinout.
- Mechanical facts: the measured cut-out, panel thickness and the depth available behind the door.
- Power: supply voltage, and whether the panel shares a 24 V rail with the PLC.
- What operators use: alarms, recipes, data logs, passwords and function keys.
Step 2: Match the cut-out and the power
A panel that drops into the existing hole saves a cabinet modification, a repaint and often a site visit. Compare the cut-out dimensions on the two spec sheets, not the outer sizes. To show how close, or how far apart, real panels are, here are four discontinued Exor eV panels in our catalogue next to current Cermate panels of similar size. The eV units were programmed in eV Designer, so a move to Cermate means rebuilding the screens in PM Designer; the table is about hardware fit only.
| Discontinued panel (cut-out, resolution) | Current Cermate panel (cut-out, resolution) | Fit |
|---|---|---|
| eV035-TNT, 118.5 x 92.5 mm, 320x240 | IPK2043-31ST, 118.5 x 92.5 mm, 480x272 | Same hole; screens must be re-laid out for the new resolution |
| eV080-TNT, 221.5 x 164 mm, 800x600 | IPK2080-31ST, 221 x 163.5 mm, 800x600 | Old hole 0.5 mm larger each way; check the gasket still seals on the drawing |
| eV121-VNT, 301.5 x 228 mm, 800x600 | IPK2120-31ST, 302 x 228 mm, 800x600 | Widen the hole by 0.5 mm |
| eV104-TNT, 285.5 x 210 mm, 800x600 | IPT2104-51ST, 259 x 201 mm, 800x600 | Hole too large; needs an adapter plate that keeps the front seal |
Three checks go with the cut-out:
- Depth. The IPT2104-51ST lists 43.48 mm including its 5-pin terminal block; make sure door hinges, ducts and DIN rails behind it leave room for the connectors and cables.
- Front protection. If the old panel was IP65 and the machine is washed down, keep the rating: the IPK series lists an IP65 front and the IPT series NEMA Type 4X / IP66.
- Power. The Cermate PK and PT panels list 24 VDC ±10% (isolated). The eV panels list 24 VDC, so the existing supply usually carries over. Check the current rating of the supply if the new panel is larger than the old one.
Resolution is the hidden cost in a cut-out match. Same hole and same resolution means screens move across almost unchanged. Same hole and a different resolution means every screen needs a walk-through, even when the project converts without errors.
Step 3: Port the project (PM Designer V2 to V4)
For Cermate panels the software side is well defined. According to our PM Designer V4 chapter, V4 keeps the workflow, screens, objects and macro language of V2, and the user manual installed with V4.0 is the same file as the one installed with V2.1. What decides the version is the panel:
| PM Designer V2 (2.1) | PM Designer V4 | |
|---|---|---|
| Panels supported (runtime OS files shipped) | Earlier generations: PT1070 to PT1150, PA series, the first PK models, plus gateway and special models | PK2043 to PK2150, PT2043 to PT2150, ITV407 to ITV415, PM series |
| Project file | .pm2 | .pm4 |
| Compiled runtime | .pl3 (.pe3 for the Windows HMI runtime) | .pl4 (.pe4 for the Windows HMI runtime) |
| Opens the other version's projects | No | Yes, converts a V2 project on opening (one way) |
| Added in this version | MQTT client, JSON macros, OPC UA client, CANbus driver, time-zone handling, 64-bit runtime builds |
A panel with no OS file in a version cannot be compiled for in that version. So an old V2-only panel is maintained in V2, and its replacement is chosen from the V4 families, which is exactly when the conversion happens. Our conversion procedure, from the same chapter:
- Copy the .pm2 somewhere safe. The conversion is one way.
- Open it in V4 and compile before changing anything. Read every warning in the Build List.
- Change the panel model to the V4-supported replacement, then walk every screen at the new resolution.
- Re-check each link: driver names and parameters survive, but confirm the Parameter page and any sub-links.
- Test every macro in the off-line simulator, especially string and file commands.
- Download with Runtime Data and System Programs ticked, so the panel OS is updated to the V4 generation.
You do not have to give up V2 to do this. The installation chapter explains that V2 and V4 install into separate folders and can live on the same PC; install V2 first and V4 second so that a .pm4 file opens in V4 and a .pm2 file in V2. That keeps the original project editable for any old panels still in the field.
Step 4: Check the PLC link before site day
The conversion keeps the driver, but the physical connection and parameters are where swaps fail. Current Cermate panels list support for over 500 PLC communication protocols and communication with up to six types of devices, so the protocol is rarely the problem. Check the rest:
- Port and pinout. The IPK2080-31ST family, for example, has COM1 RS-232, COM2 RS-422/485 and COM3 RS-485 on DB9 connectors, with optional 5-pin terminal ports, while the 4.3" IPK2043-31ST puts COM1 to COM3 on 5-pin terminals instead. Map the old cable to the new port pin by pin; a cable that fitted the old panel can fit the new connector and still be wired wrongly.
- Link parameters. Open the Parameter page of each link after conversion and compare baud rate, parity, station number and timeouts with the old project.
- Addresses. If the PLC program changed since the HMI project was last saved, the tags may point at the wrong registers. Compare against the current PLC program, not the old documentation.
- Ethernet. Give the new panel the old panel's IP address and subnet so the PLC and any SCADA polling it see no change.
The PLC communication chapter walks through link setup, and our Modbus explainer covers the most common fallback protocol.
When the old HMI is a panel PC
Many machines use a Windows panel PC running an HMI or SCADA runtime instead of a dedicated operator panel. PM Designer itself has a Windows HMI runtime (.pe3 files from V2, .pe4 from V4, with 64-bit builds in V4). Here the project usually moves untouched, and the work is in the hardware fit and the operating system. Our catalogue lists a replacement for each of these discontinued Avalue panel PCs, and the records show how much varies from one pair to the next:
| Discontinued (EOL) | Listed replacement | Screen and touch | Outer size (W x H x D) | DC input |
|---|---|---|---|---|
| ARC-1209, Intel Atom E3845 | ARC-1239 | Both 12.1" 4:3, 1024x768, 5-wire resistive (PenMount) | 283 x 222 x 46 mm to 283 x 222 x 47.7 mm | +12 to 26 V to +12 to 24 V |
| ARC-1532, Intel Core i5-6300U | ARC-1538 or ARC-1539 | Both 15" 4:3, 1024x768, 5-wire resistive | 350 x 274 x 49.8 mm to about 350 x 274 x 54.5 mm | +12 to 26 V to +12 to 24 V |
| ARC-21W34, Intel Core i5-7300U | ARC-21W38 | Both 21.5" 16:9, 1920x1080, PCAP multi-touch | 538.05 x 341.05 x 60.05 mm to 538.05 x 341.05 x 64 mm | +12 to 26 V to +12 to 24 V |
| LPC-1709(STD), Intel Atom E3845 | ARC-18W39 | 17" 4:3 1280x1024 resistive to 18.5" 16:9 1920x1080 PCAP | 382 x 320 x 58.8 mm to 460 x 285.2 x 55.5 mm | +12 to 26 V to +12 to 24 V |
The first three pairs keep the outer size, screen format and touch type, with a little more depth, so they are close to drop-in; confirm the cut-out on the mechanical drawing before ordering, because the spec sheets list outer dimensions only. The LPC-1709(STD) to ARC-18W39 pair is not a drop-in: the screen changes from 4:3 to 16:9 and from resistive to capacitive touch, the panel is wider and shorter, and the application screens need redrawing. Two more details from these records:
- Supply headroom. Every replacement here lists +12 to 24 V where the old unit listed +12 to 26 V. On a 24 V cabinet supply that is fine; check it if the old PC was fed from a supply set above 24 V.
- Operating system. The ARC-1532 lists Win 7 among its operating systems; the ARC-1538 lists Win10, Win11 and Linux. Confirm that your HMI runtime and drivers run on the newer Windows before the swap, not after.
If you are weighing a dedicated HMI against a panel PC for the replacement, our comparison of HMI vs panel PC sets out the trade-offs.
Step 5: Test on the bench, then swap
Do the testing where mistakes are cheap. A short plan that works on most machines:
- Simulator. Run the converted project in the off-line simulator. Exercise every macro, especially string and file commands.
- Bench with the real PLC or a spare of the same model: power the new panel from 24 V, connect with the field cable and check that every screen reads and writes live values.
- Screen-by-screen walk at the new resolution: clipped text, overlapping objects, buttons too small for gloved fingers.
- Functions the operators rely on: raise and acknowledge each alarm class, load and save a recipe, check data logging and any USB export, test passwords and function keys.
- Clock and retained data: set date and time, and confirm retained values survive a power cycle.
- Site swap with the old panel, its cable and a copy of the old project on hand, so you can roll back in minutes if something unexpected appears.
Step 6: Keep the old unit as a spare
A working panel that came off the machine is the cheapest spare you will ever have. Label it with the machine number, store it with its cable, and keep the original .pm2 project (or the panel PC's disk image) and the matching software version alongside it. Because V2 and V4 coexist on one PC, the engineering laptop can still maintain the old panels while the new ones run V4 projects. When the next panel of that type fails, you have a choice. For the cost side of that decision, see our guide to industrial PC total cost of ownership, and for choosing the new panel from scratch, how to choose an industrial HMI panel.
How TSL can help
TSL Automation Solutions in Mumbai has been an authorised Cermate and Avalue distributor since 2015 and ships worldwide. We can quote current Cermate PK, PT, ITV and PM series HMI panels and Avalue ARC panel PCs as replacements, and the PM Designer page is where to request the V4 or V2 installer. The free PM Designer guide covers installation, conversion and PLC links chapter by chapter, and the compare tool puts two candidate panels side by side.
Send us the model numbers and quantities and we will reply with availability and lead time within one business day.
Frequently Asked Questions
TSL Automation Solutions
Head of Marketing, TSL Automation Solutions
Sanjana covers industrial automation trends, product launches, and technology insights for TSL Automation Solutions, a Mumbai-based distributor of HMI, Panel PC, and embedded computing systems serving manufacturers across India and globally.
Need help choosing the right product?
Our team in Mumbai can recommend the right HMI, Panel PC, or embedded system for your application.
Contact TSL Automation